Underground Rainwater Cistern Renovation Project
Many of the houses in our street, built ca. 1910, were provided with large underground cisterns to store rainwater for washing, Chiltern water being very hard. The water was drawn by handpump. I discovered when we moved here in 1993 that ours had been filled with rubble by builders; it was too daunting a task at the time, but the sight and sound of the neighbours' working handpump, and the thought of the potential source of fresh water for the garden, and maybe even for use in flushing cisterns, haunted me, and in 2008 I determined to empty it and return it to service.
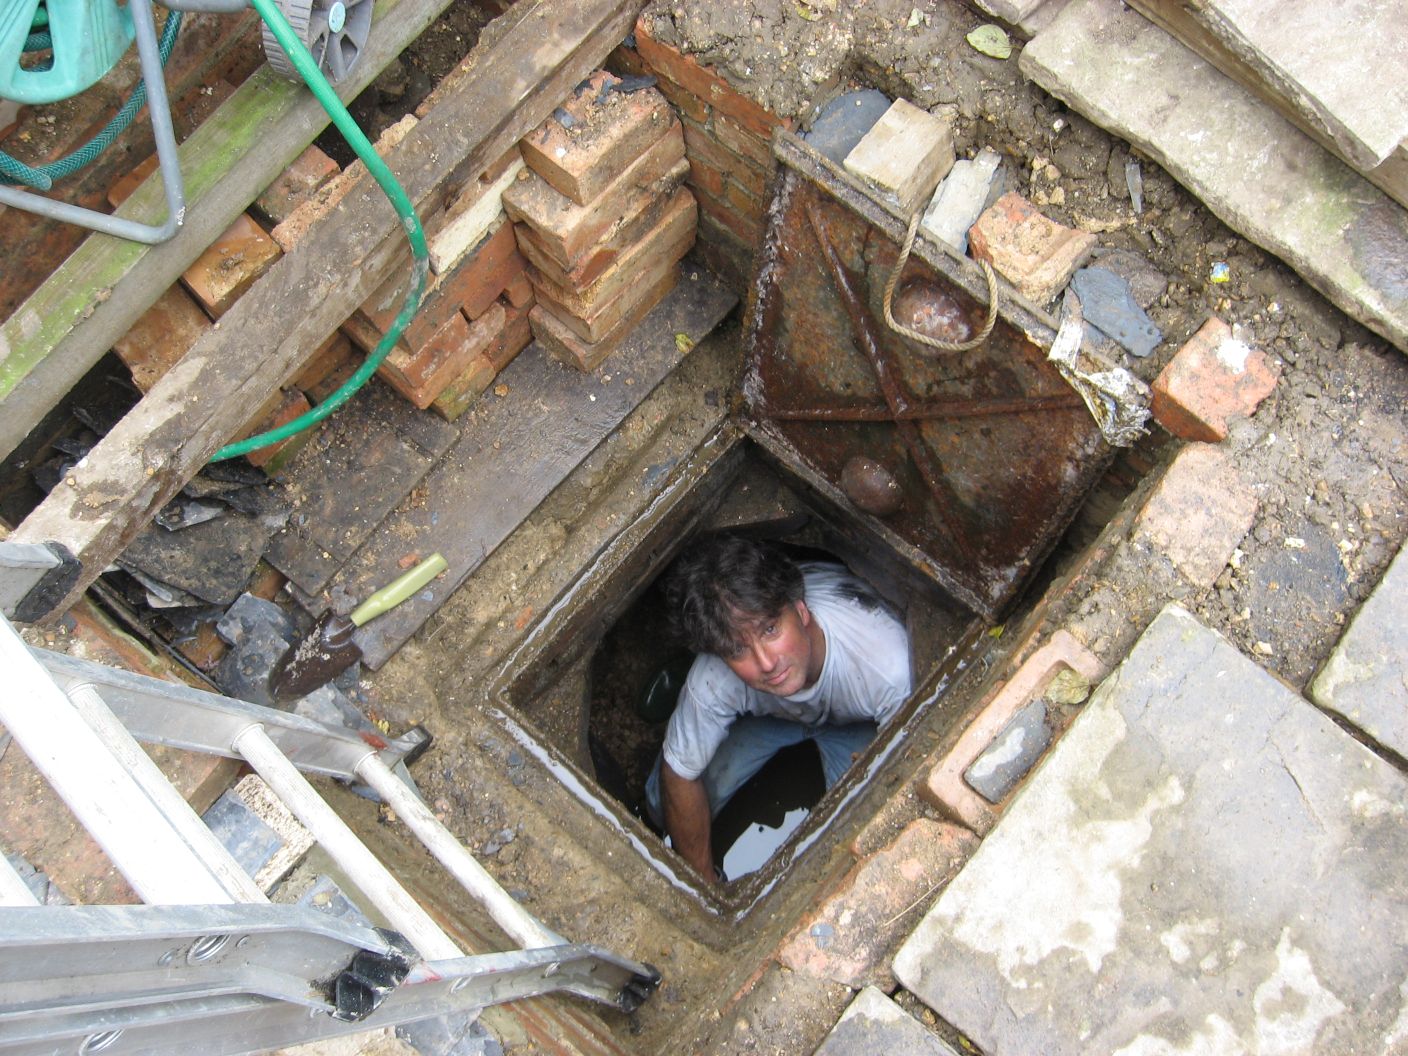
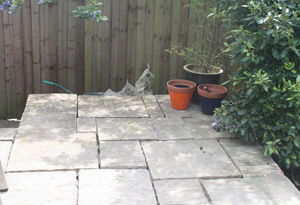
 I set to work around the 2nd week of August 2008. First I had to find the metal hatch cover that I knew was there somewhere, buried under a patio we had built. What I didn't know was that the builders had covered the hatch with a 4" thick pad of concrete, which made the hatch even harder to find. I hired a drill and started chipping and drilling where I thought the hatch was until I spotted a thin metal bar that didn't take long to identify as one of the handles of the hatch cover. By the end of the day I'd revealed the whole cover, and transformed a sharp chisel-ended bit into a very blunt point.
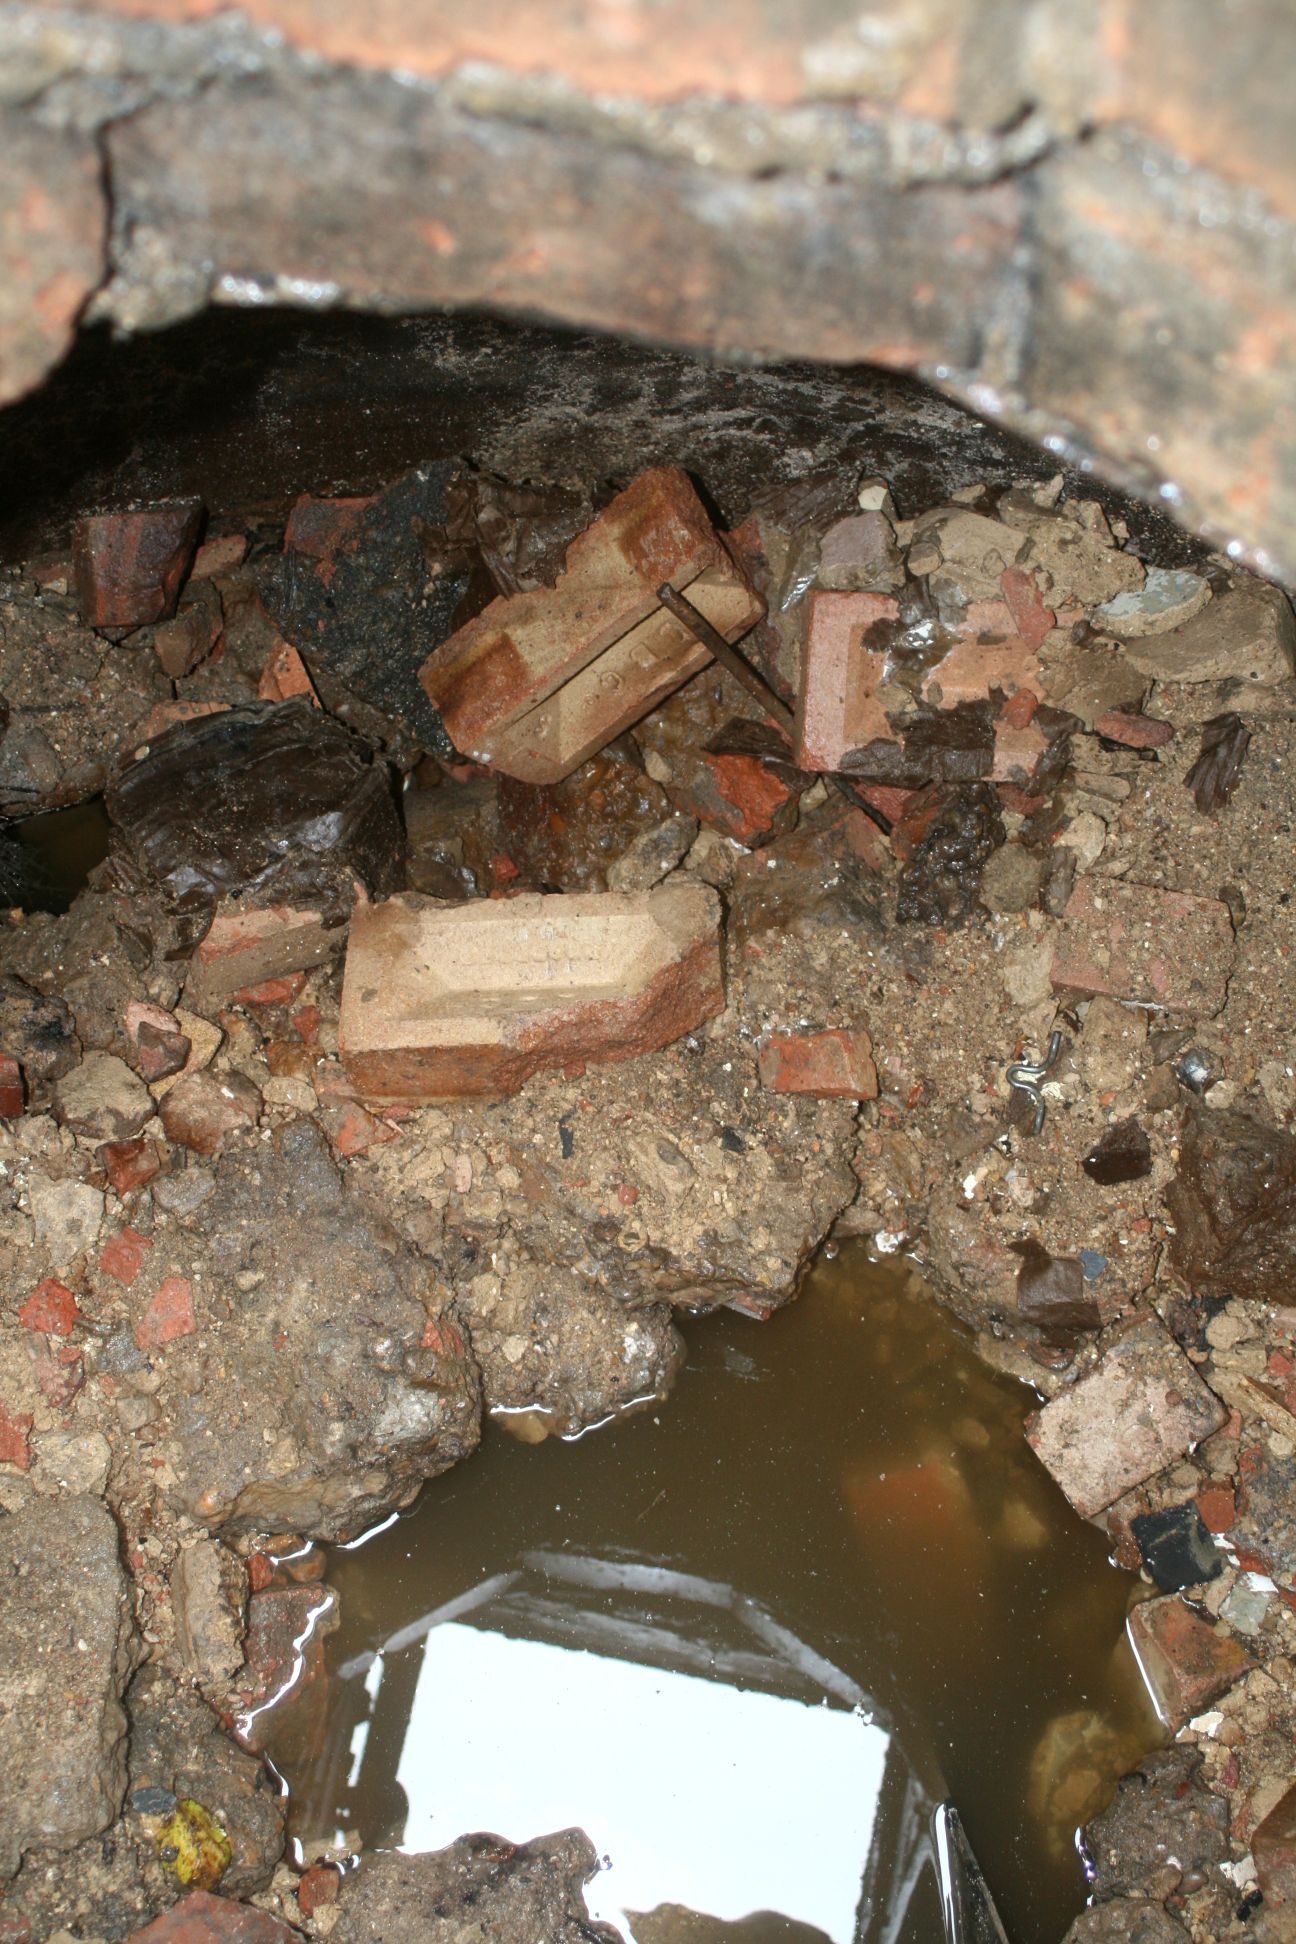
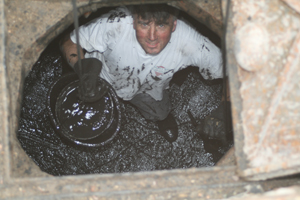
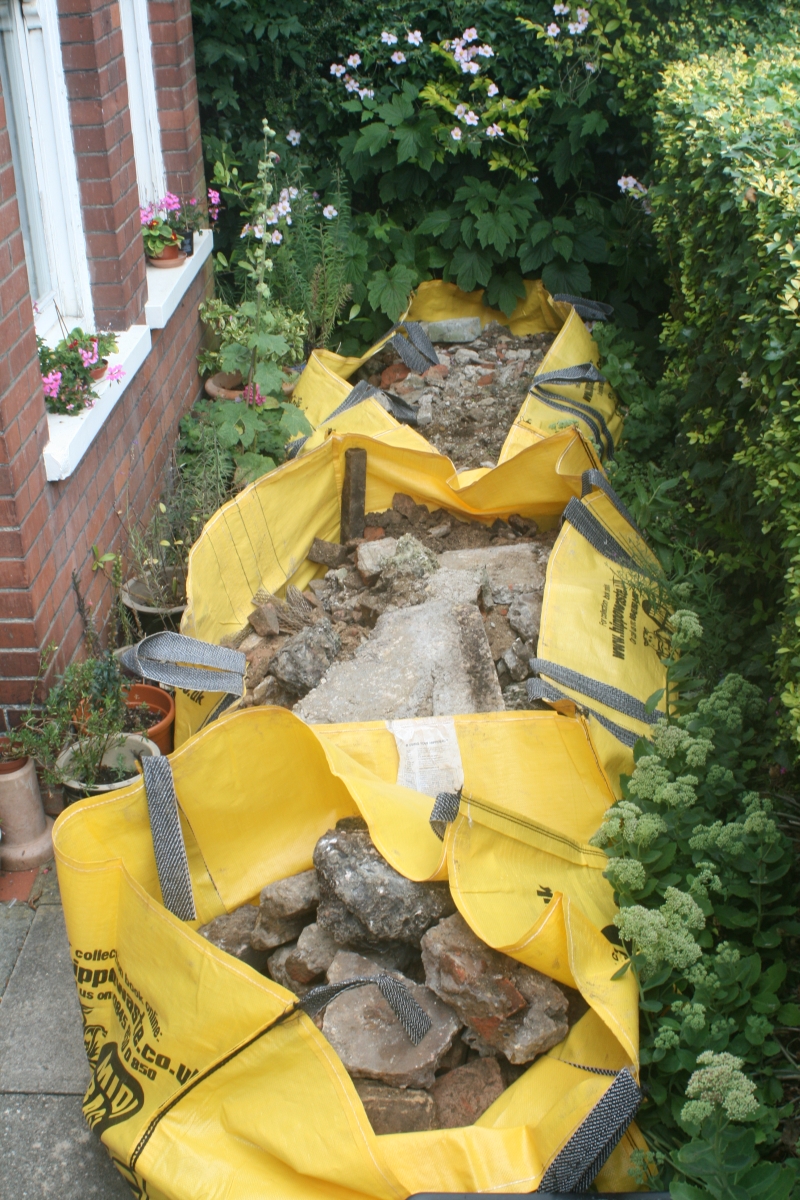
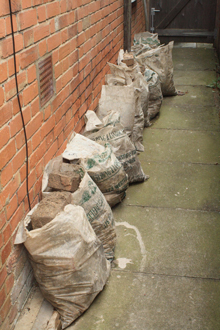
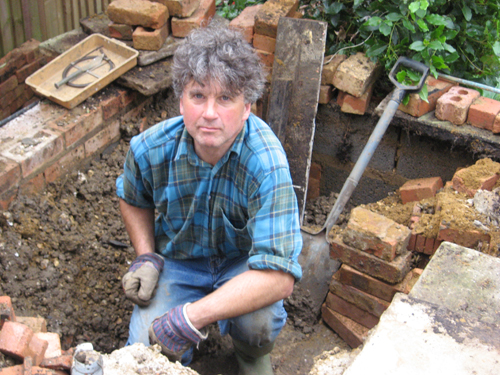
With the help of the three able-bodied younger men of the house I lifted out whole bricks, half bricks, bits of bricks, lumps of concrete, render, plaster, broken tiles and slates, and by August 21st I'd removed about 4 tonnes. By September 12th another 3 tonnes. On October 12th out came 6 builders' bags of more rubble, plus a huge piece of hearth, a very malodorous oil can, some glass jars and broken window panes, making 7.2 tonnes total. On May 10th 2009 we filled 13 more builders' bags (7.53 tonnes). When the level dropped so that I could no longer reach comfortably to deposit the rubble beside the opening, I began to haul it up by rope, bucket by bucket.If I was alone I'd fill three buckets, then clamber up and pull each one up, engaging a hook on the end of the rope with the handle;
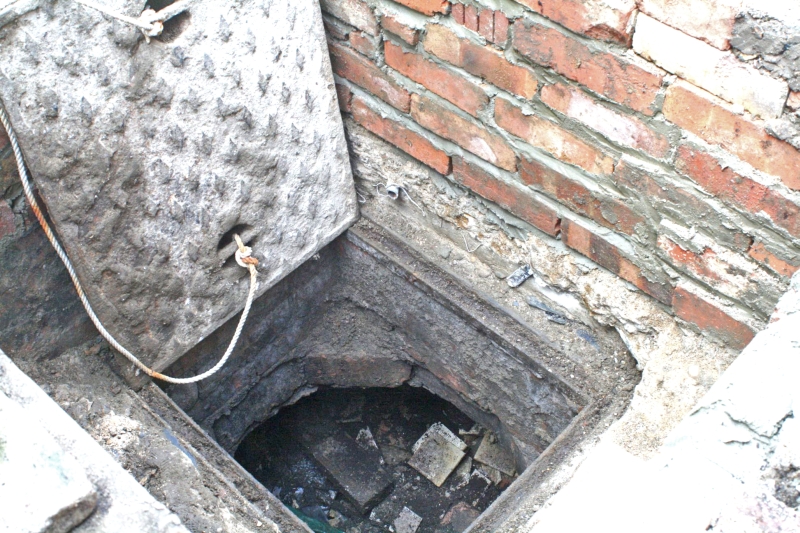
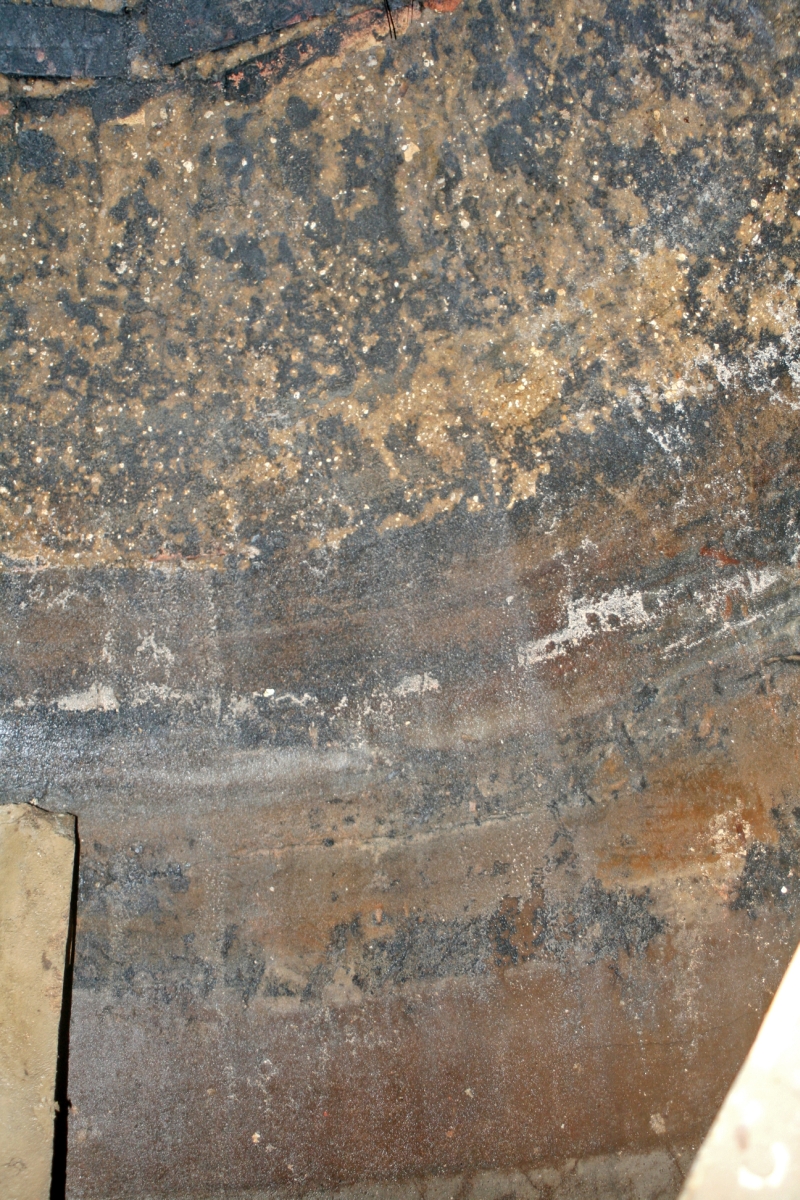
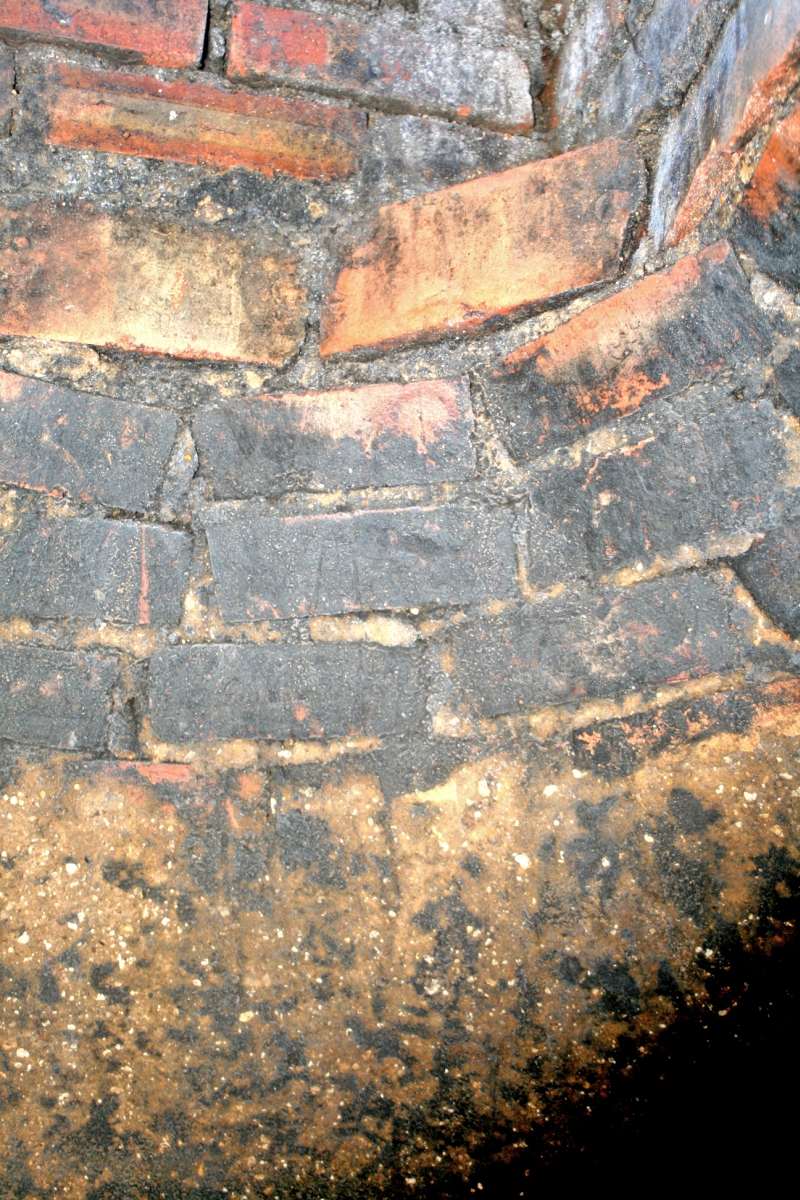
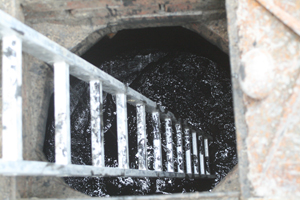
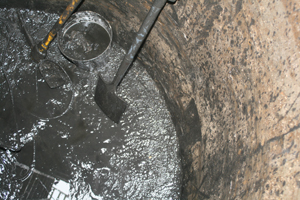
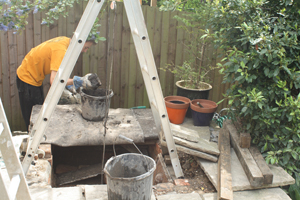 or I'd station a slave above, pull from below on a rope running over a pulley suspended above the shaft from a step-ladder, the slave tipping the contents into a bag. When the local recycling depot began accepting a boot-load of non-commercial hardcore per month I was relieved of the expense incurred by Hippo bags. On May 20th 2009 up came 13 more bags' worth to make a total of 7.85 tonnes. Two days later, 12 more bags of rubble (8.15 tonnes), and I finally hit the bottom. On May 23 we emptied the last of the contents, 20 bags worth, much of which was a thick dark grey slurry. That made a grand total of 8.65 tonnes. I can't determine if the concave base has a brick foundation, but it is finished in rough concrete, unlike the circular wall that is brick-lined, rendered to a hard smooth skim. From the hatch cover to the bottom is about 10 feet. The diameter of the cistern is 5 feet. That's an effective capacity of about 140 cubic feet/4000 litres/1056 US gallons/880 UK gallons.
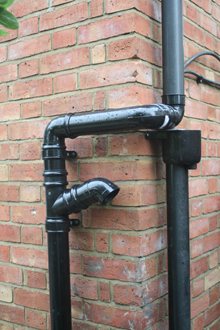
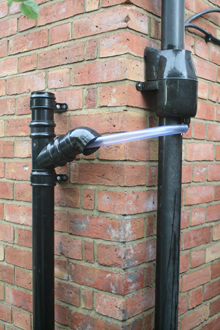
In early June 2009, I laid a new supply drain pipe to carry diverted rainwater from the existing downpipe, and installed a rainwater diverter. Should there be a prolonged drought, and the water-level falls significantly, I can switch to direct supply to catch the total volume of rain, not just the limited volume that will flow through the fairly narrow outlet of the diverter during heavy rain. There's a standard gutter filter at the top of the down pipe.
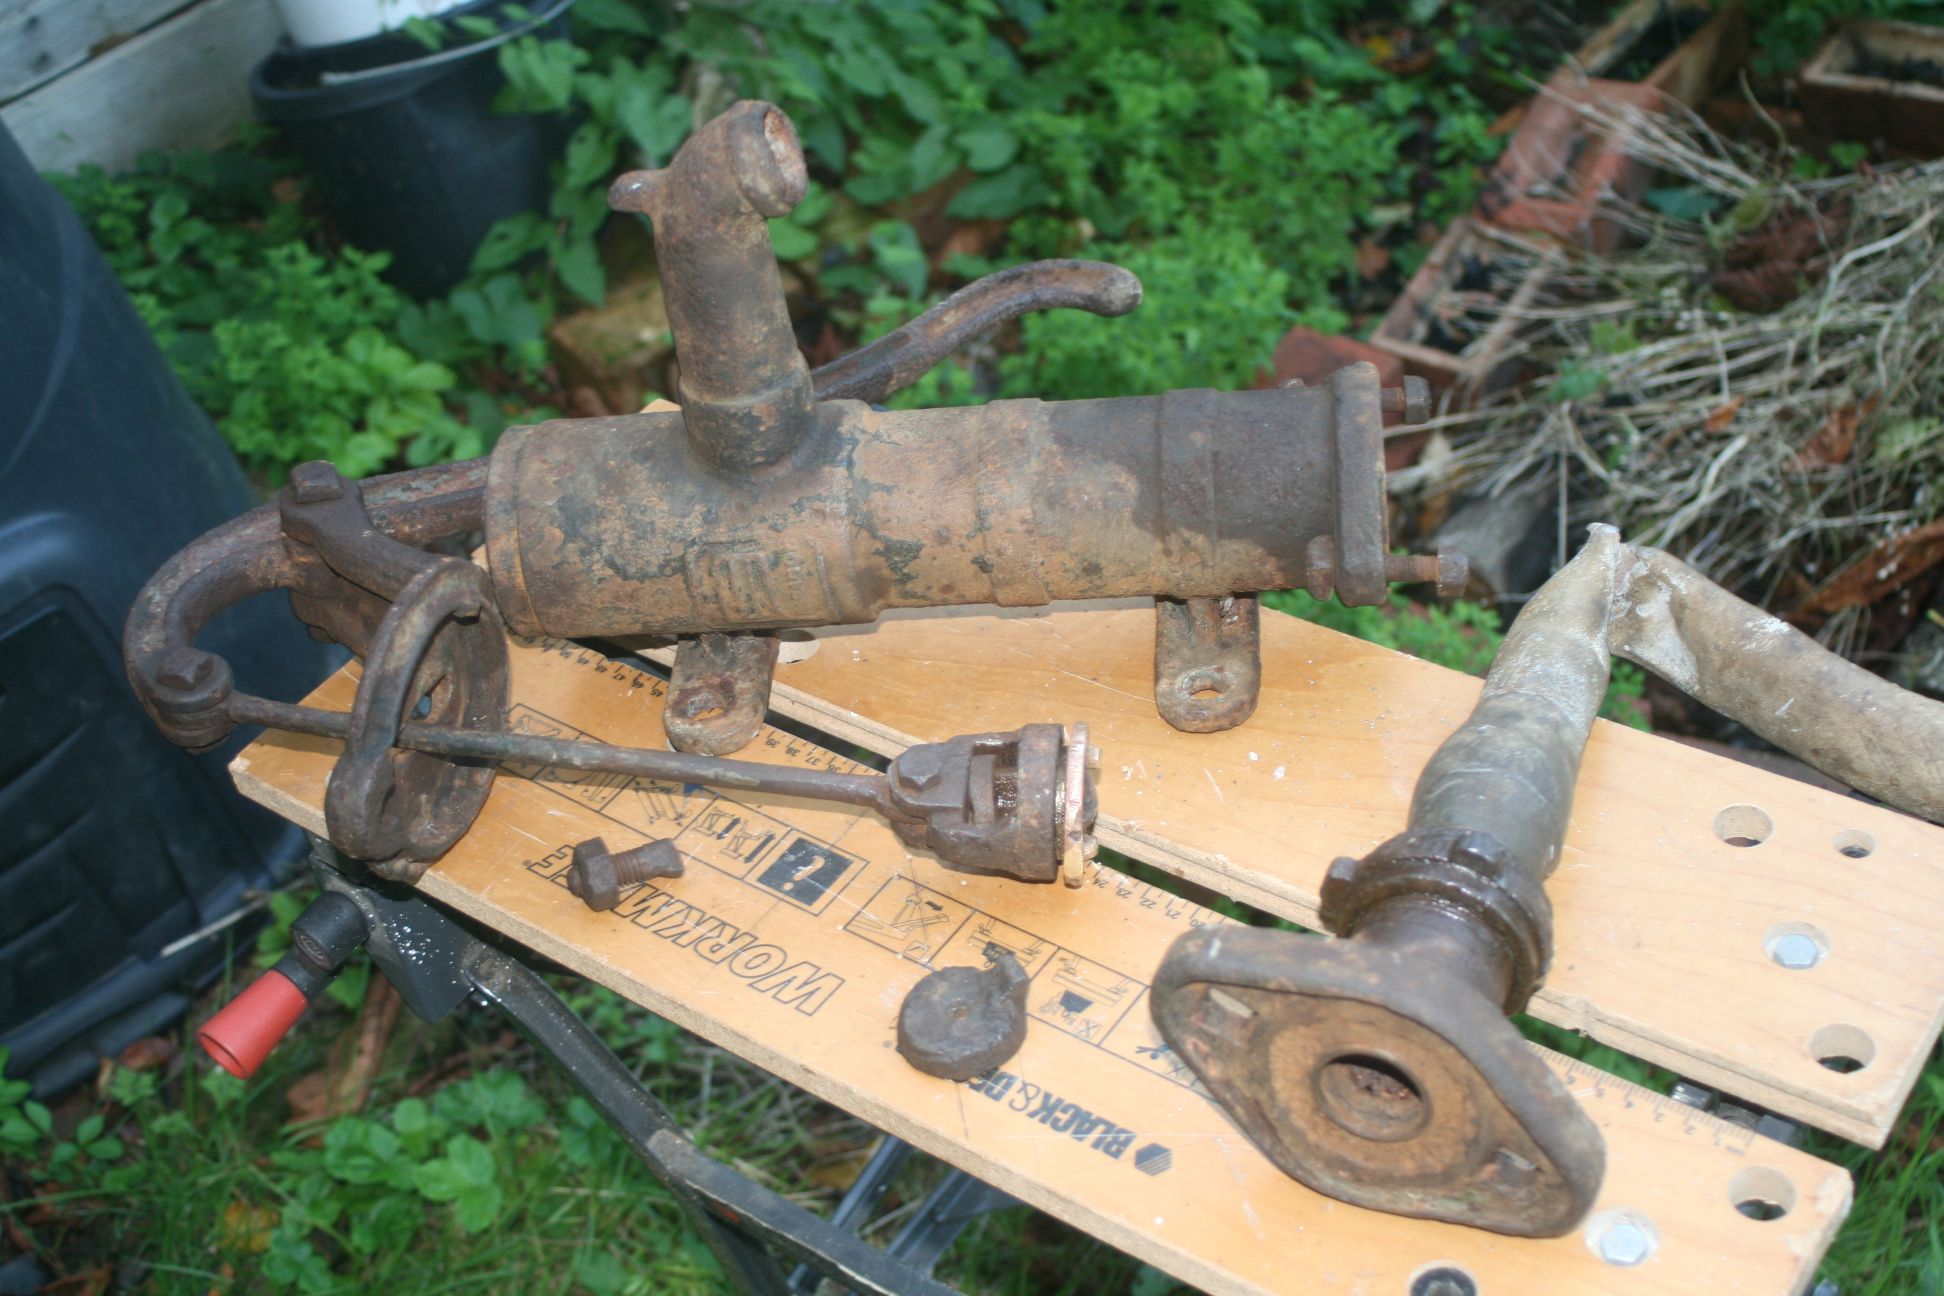
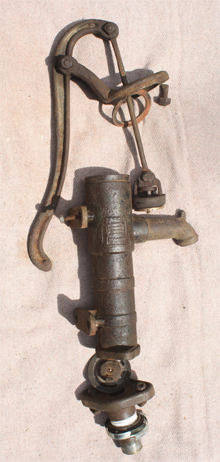
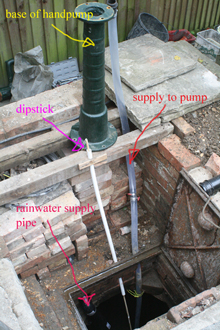
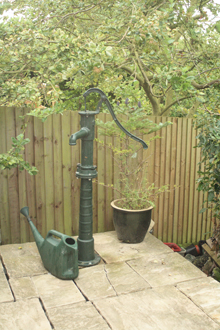
I gave up attempting to put the old hand pump back into service. It was too old and worn to achieve a sufficiently air-tight seal to create the pressure differential required to raise the water from 2.5 metres, despite the foot valve. So I've installed a new reproduction that works perfectly, easily set up with hose and fittings obtained from C D Aquatics and a foot valve and strainer basket from very helpful Collister & Glover.
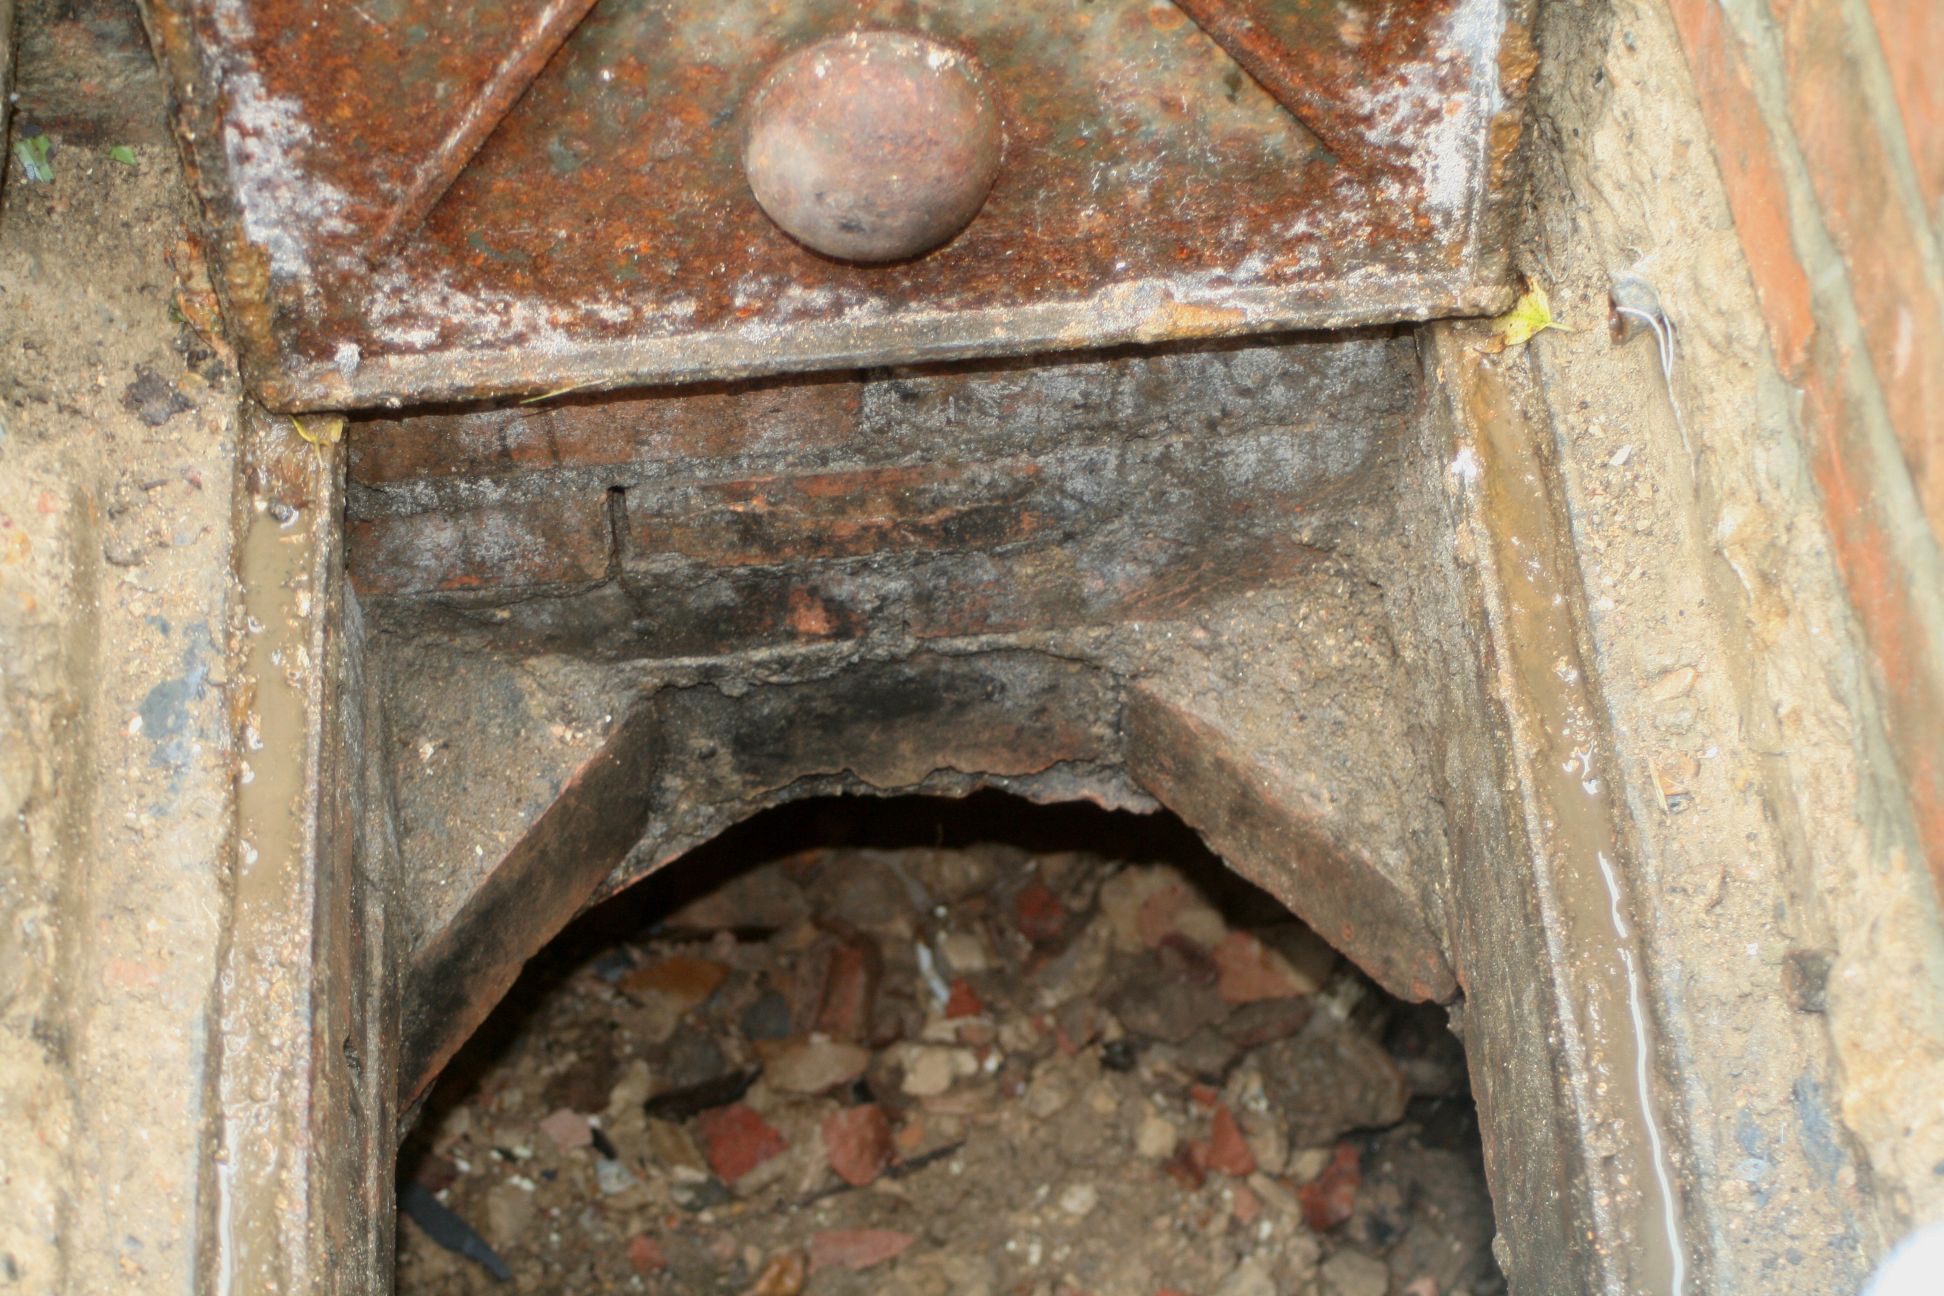
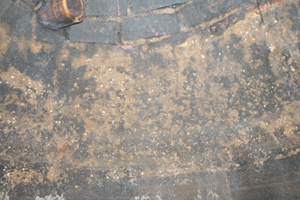 There are two old clay pipes emerging from the inside walls at the top of the dome; both appear to slope down into the cistern, so I first assumed they were feeds, one from each side of the pitched roof. But now that the water level appears to have reached maximum with no further increase I assume that one is an overflow. During some recent heavy rain I peered inside an inspection chamber near the rear of the property; water flowing into that from a pipe that had previously appeared to be silted up suggests that it is the original overflow.
Each pipe protrudes just an inch or so from the brickwork, and I suspect that water splashing into the cistern when the level has been below maximum has gradually eroded the render to the upper part of the dome, so I have extended the new inflow pipe into the cistern by about 1.5 metres. I've devised a simple water-level gauge - no costly electric pump with sensor, merely a 3 metre dip-stick (two lengths of wooden dowel joined with a dowel screw), marked every 500 litres, guided into the top of the cistern by a half-metre length of 22mm pipe that is flush with the patio paving.
In mid-June 2009 I decided that it was wise to take advantage of access to the cistern while it was empty in order to improve the integrity of the walls of the upper part, so I patched over existing worn render, and re-rendered exposed brickwork further up, as far as the bottom of the access shaft. I connected the downpipe on June 26. Just two days later, thanks to several thunderstorms accompanied by torrential rain, 1000 litres had flowed into the cistern. By August 28, I had collected 4000 litres.